ESI v3 (Extended Format). SMDR/CDR data format and connection settings
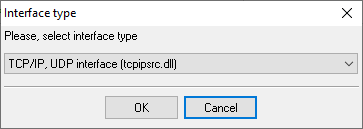
SMDR formatsSupported models: ESI-1000, ESI-600, ESI-200, ESI-100, ESI-50 Advanced PBX Data Logger supports: CSV and Extended SMDR formats Capturing SMDR data over EthernetThe NSP1 can be used to output SMDR data over an IP network. The TCP can be xx003 (default value is 59003). For more information about PBX settings, see NSP Installation Made Simple (ESI # 0450-0669). Configuring PBX Data Logger as a TCP clientOur software should work in the TCP client mode. It means that our software will initiate connection with the PBX and the PBX will work as a server. Add one or several PBX IP addresses here (the IP address of the (none)). The port number should match the port that you have defined within the PBX (59003 in the example below). 1. Add a new configuration with the TCP data source (if you didn't it before).
2. Configure the TCP settings as shown below. 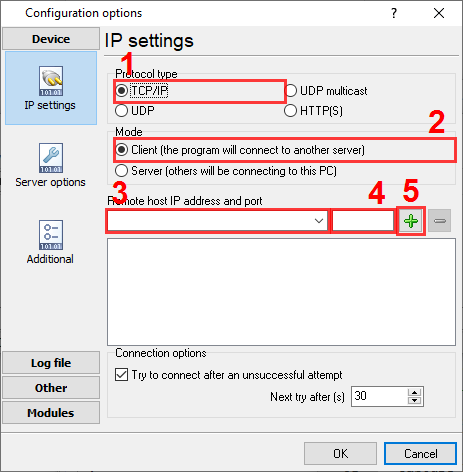
192.168.1.220 59003 192.168.1.220:59003 Capturing SMDR data through RS-232 portUse an RS-232C cable to connect a PC's serial port to the system's Maintenance/SMDR port. If necessary, consult the Hardware Installation Manual. SMDR data will be stored temporarily if a laptop is connected for programming (5-15 minutes). The buffered SMDR data will resume output to the serial port. Entering programming modeYou may program from any ESI desktop phone in the system: 1. Press PROG/HELP at any station. The normal station programming menu prompts will begin to play. Function 18: Maintenance/SMDR serial portReal-time SMDR call records are continuously output to the SMDR port. 1. Select the output device by pressing the scroll keys (SERIAL or ETHERNET (if connecting to a LAN through an NSP board)). If necessary, consult the ESI Communications Servers: Programming Manual Selecting the correct parser for ESI v3 (Extended Format)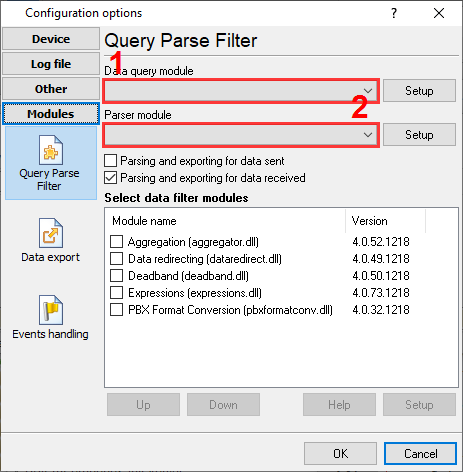
ESI v3 (Extended Format) ESI v3 (Extended Format) Data items
Interested in reports for PBX usage?We offer the PBX Reports utility with various manual, scheduled and email reports, built-in web-server, and other features. Look here Want PBX call logs in a database?This is the standard feature. The logger captures exports SMDR or CDR data in real-time to your database. Follow this link Note: Products and companies mentioned here are used only for definition and identification purposes and can be trademarks and/or registered trademarks of the respective companies. |
||||||||||||||||||||||||||||||||||||||||
| Copyright © 1999-2024, AGG Software. All rights reserved. Terms of use | Privacy policy |