The "Accurate Printer Monitor" program consists of two parts:
•Logger. This part of the program controls all events and adds them to the database. This part of the program runs completely automatically. It can run as a service and be completely invisible to the user.
•Administration program. This part of the program is used to generate reports and perform other service functions.
This part of help describes the administration program.
After you successfully install Accurate Printer Monitor, you should configure the program.
Start the administration program (in the future "the program") from the "Start" menu.
After you start the program, you will see its main window (fig. 1), whose main elements are the main menu, the toolbar, the data output area, the status bar, and the navigation bar. You will see data about events from the database in the data output area. The status bar shows a hint for many interface elements, information about operations in progress, etc. You can access the program's preferences from the main menu of the program ("Edit - Preferences...").
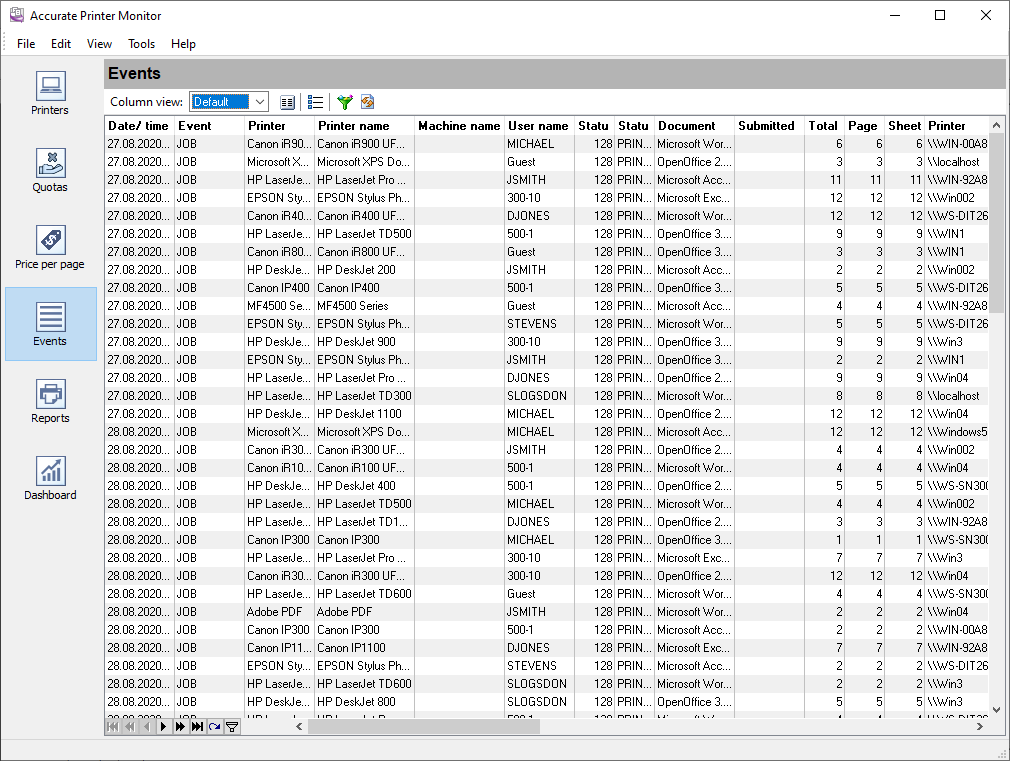
Fig. 1 Main window
By default, the program is configured to be used on one computer with the logger. PostgreSQL is used as a default database. If you plan to use the administration program on another computer, you should install and configure an MSSQL or MySQL database.
It is as easy to get to know the program as 1-2-3-4-5
Step 1. Configure the logger that will collect and log data to the database.
Step 2. Make the list of printers you will monitor.
Step 3. Specify the print costs for the printers if you want to calculate them.
Step 4. Create the list of your favorite reports on the "Reports" tab.
Step 5. Customize the program options. Particularly, enable the built-in HTTP server to remotely view the reports or make the list of scheduled reports.
Now you can view, print, and save reports about printers that the logger monitors to files on the "Reports" tab.