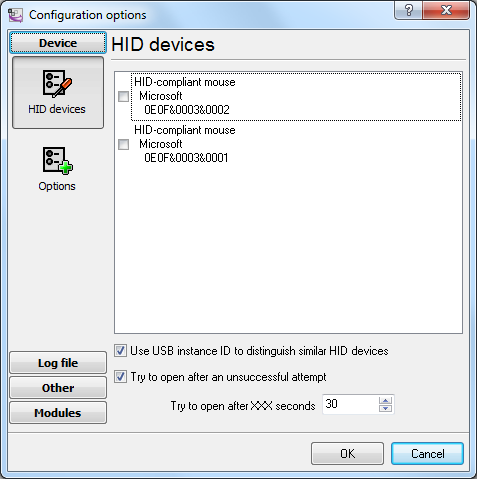
USB HID LoggerTrust In Confidence! For Windows 2000 - Windows 11 (2022) (incl. Server, x86 and x64). Latest version: 1.9.9 build 417. April 17, 2024. USB HID to MSSQL: Write a lot of HID report items to the MS SQL Server databaseIf you need to write a lot of USB HID report items to an MSSQL database, it is not adequate to create a table with a separate column for each item because the values of items can be modified non at the same time. It produces a lot of empty columns generated in the database. It will be more useful to create a table consisting of three columns. ITEM_NAME - will be the name of the item; ITEM_VALUE - will contain the string value of the item; TIMESTAMP - will contain the date and time when the value was modified. 1. Create a new user in the database or give permissions to write and read data from the created table to an existing user. 2. Create a new configuration and select necessary USB HID devices from a list. If your USB device is not plugged yet, connect it temporarily before creating the configuration (fig. 1).
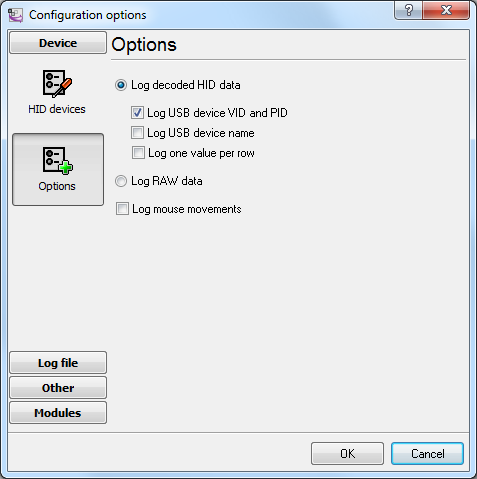
Fig. 1 Selecting a USB device 3. Select the following options:
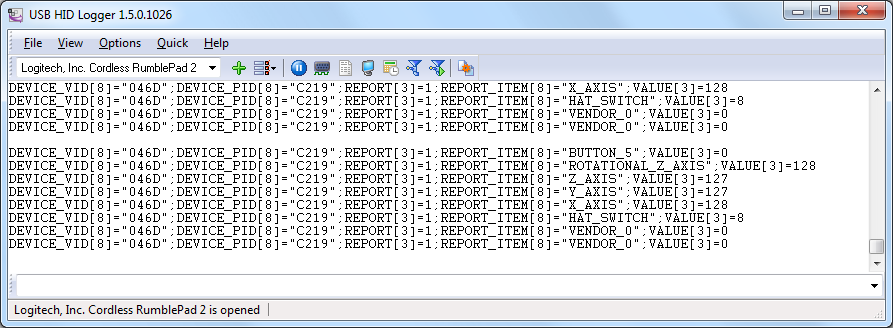
Fig. 2 Selecting a logging mode 4. Click OK. Data like that should appear in the main window of the program:
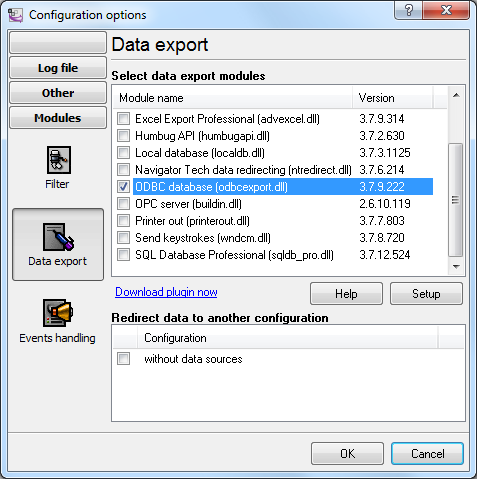
Fig. 3 Data Every new value of USB HID report items appears on a new line here. Every line contains the additional "ITEM_NAME" and "DATE_TIME_STAMP" items with the item name and timestamp, respectively. 5. Select the data export plugin (fig. 4)
USB HID Fig. 4 Selecting the data export plugin 6. Configure the data export plugin (fig. 5-6)
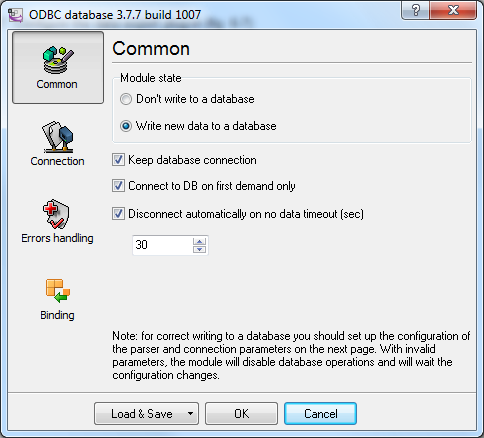
Fig. 5 Configuring the data export plugin. General. To set up a connection, you should create and configure the ODBC data source for connecting to your MSSQL database. Click the "Configure" button to do it. After you create the data source, click "Update" and select the data source from the list.
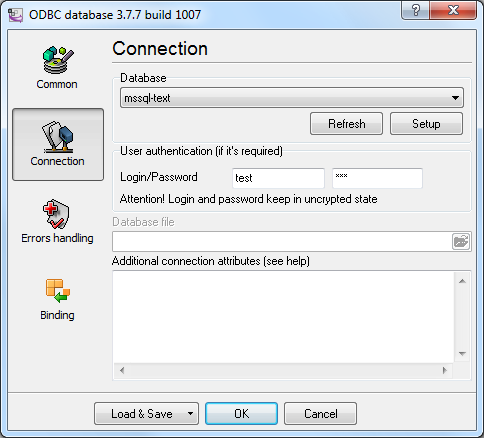
Fig. 6 Configuring the data export plugin. Connection. 7. Binding (fig. 7) allows you to specify which data to which columns the program should add. You should specify the column name and "bind" the item to it from the main window of the program (the parser item). You should also specify the data type of the column.
usb_data REPORT_ITEM VALUE DATE_TIME_STAMP Fig. 7 Configuring the data export plugin. Binding. 8. Click "OK" to save the changes. 9. Check the status bar to make sure the data is being successfully processed (fig. 8).
Fig. 8 A message about data being successfully written Related articles:Read more about: |
|