
SNMP to MSSQL: Write several SNMP items to separate columns
If you need to not only log the changes of the SNMP item values in the MSSQL database but also analyze and process them after that, it will be more convenient to create a table where there will be a separate column for every item. This method can be applied if there are not many SNMP values.
CREATE TABLE [dbo].[snmp_data_2] (
   [REC_ID] [int] IDENTITY(1,1) NOT NULL,
   [TIMESTAMP] [datetime] NULL,
   [ITEM1] [nchar](30) NULL,
   [ITEM2] [nchar](30) NULL
) ON [PRIMARY]
ITEM1 - will store the value of item 1;
ITEM2 - will store the value of item 2;
TIMESTAMP - will contain the date and time when the value was modified.
1. Create a new user in the database or give permissions to write and read data from the created table to an existing user.
2. Create a group of SNMP values in the program (fig. 1) with the properties shown in the picture.
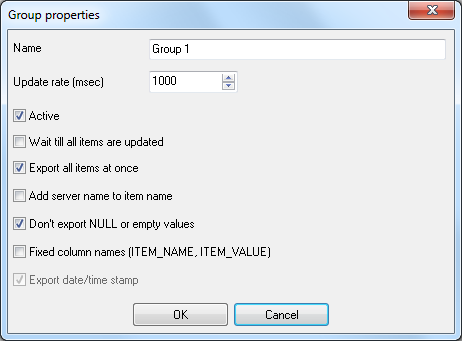
Fig. 1 Group properties
3. Add the necessary items to the group.
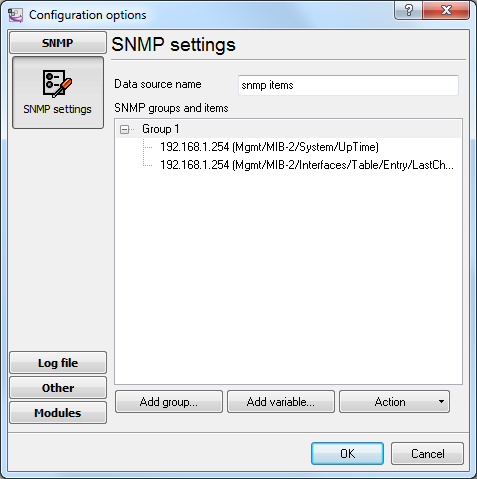
Fig. 2 Item list
4. Click OK. Data like that should appear in the main window of the program:
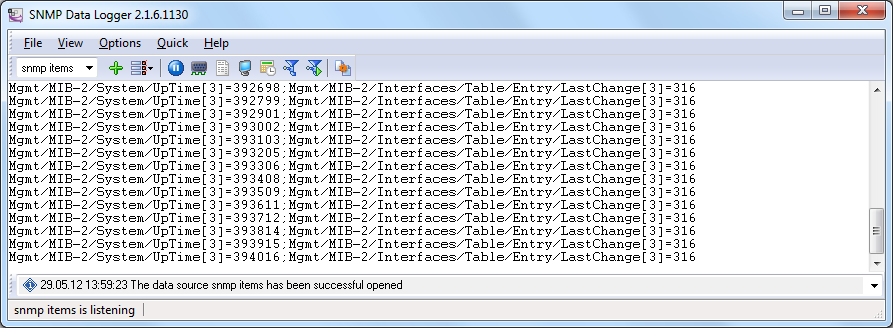
Fig. 3 Data
Every line contains the value of all items and the additional "UPDATE_DATE_TIME" item with the timestamp.
Steps 5-7 are similar to those from the previous example "Write a lot of SNMP values."
8. Binding (fig. 4) is slightly different from that in the previous example because the table contains a different set of columns.

Fig. 4 Configuring the data export plugin. Binding.
Click "OK" to save the changes.
9. Check the status bar to make sure the data is being successfully processed (fig. 5).
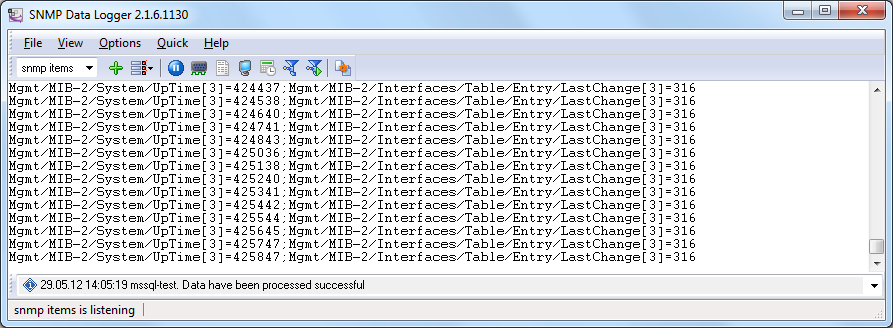
Fig. 5 A message about data being successfully written
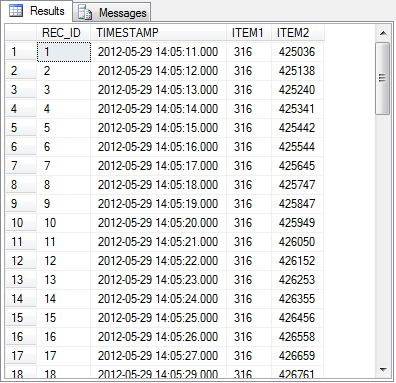
Fig. 6 Data in the MS SQL Server database
Related articles: SNMP to MSSQL: Write several SNMP items to separate columns
- SNMP to MSSQL: Write a lot of SNMP values to the MS SQL Server database
- SNMP to MSSQL: Write several SNMP values to separate columns
- SNMP to MySQL: Export SNMP values to the MySQL 5 database
- SNMP to a database: Write SNMP values to a database
- SNMP to Excel: Save SNMP data to Excel
- Printer status monitoring via SNMP to Excel
Related topics: SNMP Data Logger
hereSNMP Data Logger RS232 pinout and signals Cables and signals Data monitor cables